This is Hazel after removing the dress, with the dress, shoes & box I chose to work with. Her broom was already completed.

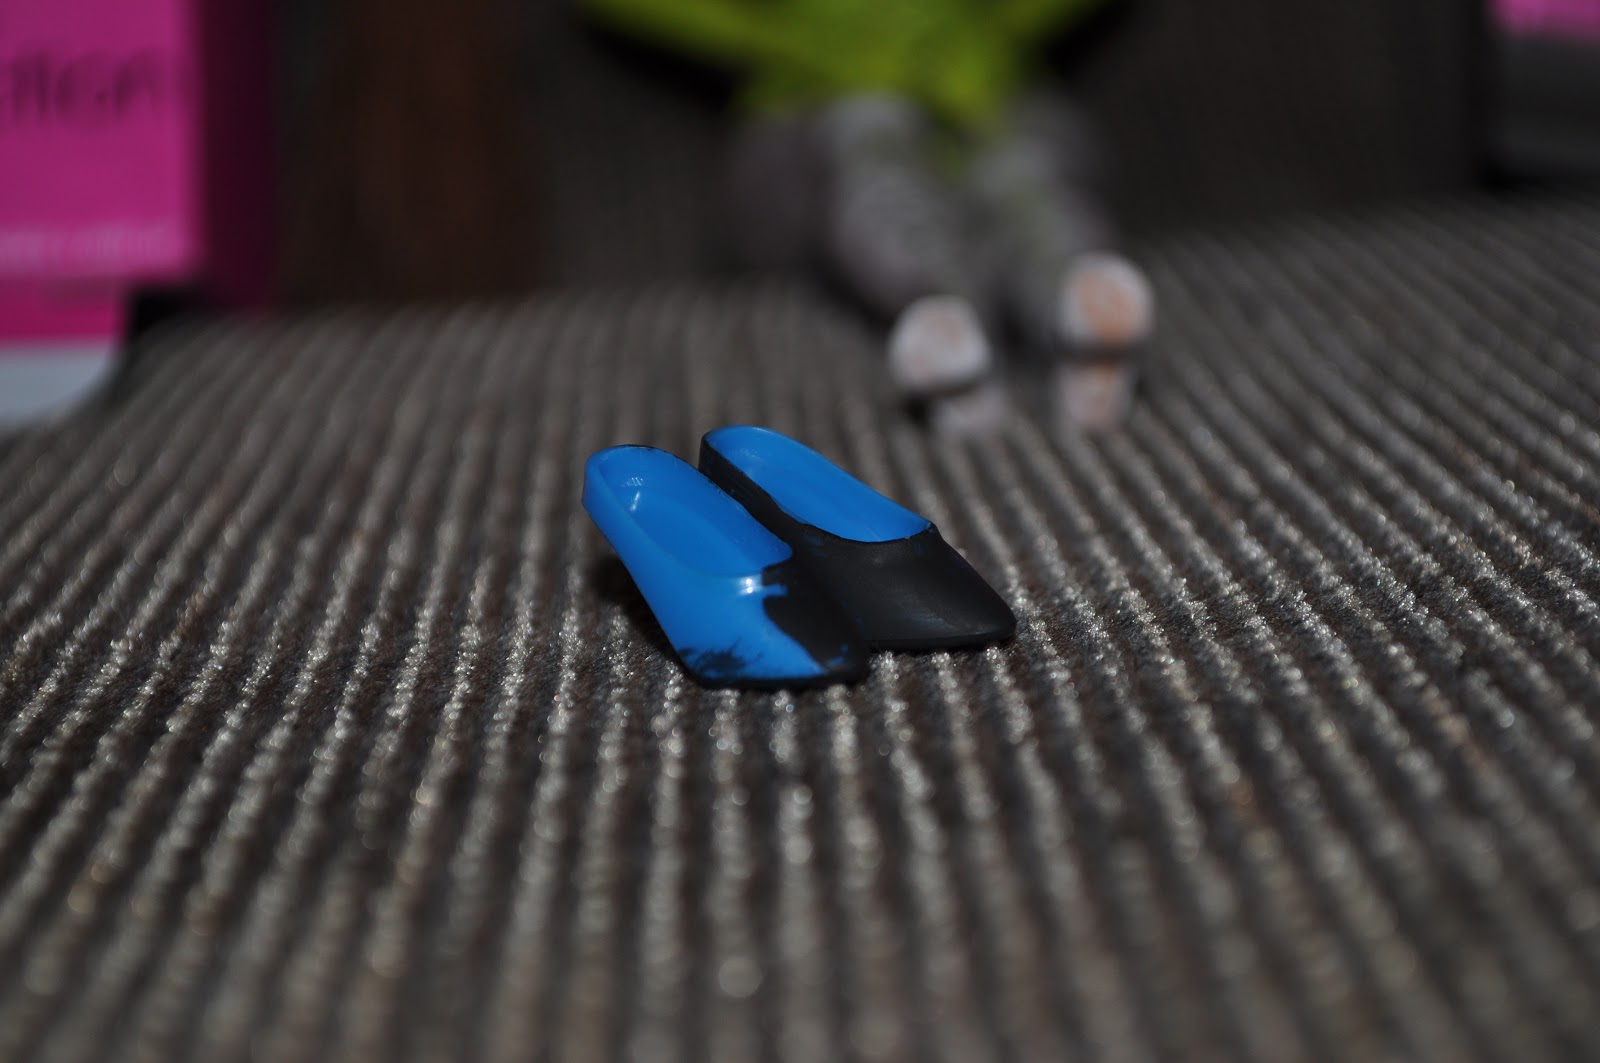
Close up of shoes I had begun to work on:
Painted fingernails!

The dress I chose work with, which I covered in black paint & then sparkly finger nail polish, sounds weird, but looks super cool.

Supplies to paint my box (I chose to do it this way just for cost. This box & the doll inside cost 3.00 at Big Lots. I was able to take the dress off the doll, the shoes & the box & discard the doll cheaper than if I would have tried to print out the box with the plastic acetate.)

Here is an in-process shot of the box. Trust me, it turned out better than I expected!

Here is a shot of the charm guide. I started with the old photo template I created for baby ampersand & modified it in PS w/ the clone tool, the burn tool & C/P.
Here is an in-process shot of the whole thing. It will have the charm guide on one side & the tips/tricks on the other, with the gift card at the bottom. The charm guide is pixelated right now, I am going to have to redo that text by hand.

My bubble gum wrapper with the text: (I also added ingredients & the BWS logo, but I was already uploading as I continued to work):

Witch's Brew Bubbles (same story as the bubble gum):

And this is the play scene. I hope to get it laminated, or onto something that will convey the idea I have. We'll see if it happens before Thursday!! :)

I've put a lot of work, a lot of time & a lot of effort in to this project, but its been the most fun I have had on a project in quite a while. I've really loved this assignment & I hope the final product conveys how enriching I've found this whole experience to be! It was really nice to be able to use some techniques and skills that I hadn't utilized in a really, really LONG TIME & to find out they had some practical use after all!
No comments:
Post a Comment